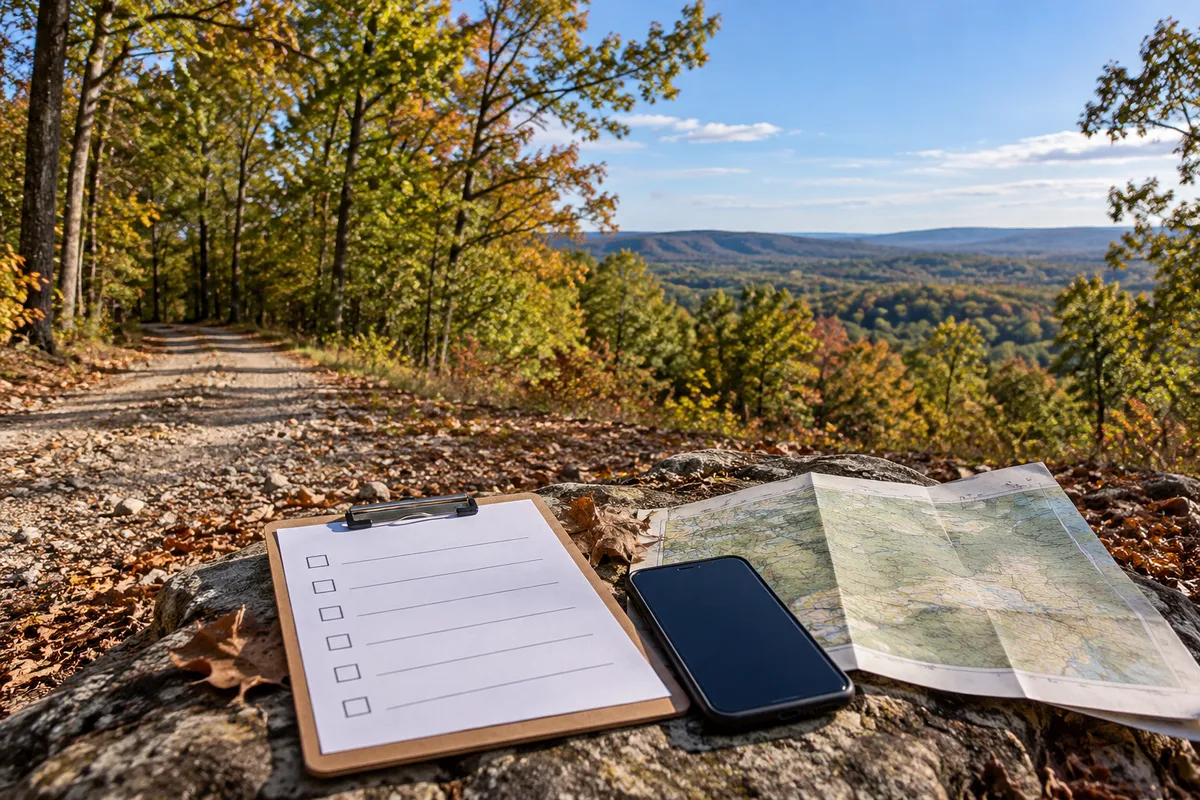
Visiting Rural Land Before You Buy: A Practical Property Walkthrough Checklist
A rural parcel can look different in person than it does in a listing. Aerial photos may show tree cover and road frontage, but they cannot tell you how a driveway feels underfoot, whether low areas hold water, or what you can actually see from a safe, authorized viewing location. A thoughtful property walkthrough helps you collect observations and identify questions to verify later. It does not replace a survey, title review, professional inspection, or government approval.
Before you leave: plan a useful visit
Start with the parcel's legal description, listing materials, available maps, and the seller's instructions for visiting. Confirm that you have permission to enter and where you may park. Never assume a mapped road is open to the public or that neighboring land is available for access. Bring a charged phone, downloaded maps for weak-service areas, suitable footwear, water, and a way to take notes and photographs. Tell someone where you are going, particularly if the parcel is remote.
Write down the use you are considering—occasional recreation, a future home, or simply holding land. Your intended use determines what questions deserve the most attention. A parcel that suits occasional visits may require substantial additional work before a residence could be considered. Keep the parcel number and contact details handy so you can match your notes to the correct property afterward.
1. Observe the approach and road conditions
Pay attention before you reach the parcel. Is the approach paved, gravel, or unimproved? Are there ruts, steep grades, narrow sections, drainage ditches, or low crossings? Does the route appear suitable for your vehicle in today's conditions? Photograph the approach from places where stopping is safe and lawful. Note whether gates, signs, or neighboring driveways complicate the route.
What you see is evidence of physical conditions on the day of your visit, not proof of legal access. A visible track may cross private property without an easement. Conversely, a recorded easement may exist where no usable road has been built. Verify road status, public maintenance, recorded access rights, and any required permissions through appropriate records and qualified professionals.
2. Compare the land with the listing and maps
Before walking, orient yourself using the parcel's approximate location, recognizable roads, and nearby features. Record any differences between the listing description, aerial images, and conditions on the ground. Tree cover, grading, neighboring activity, and roads can change after imagery was captured. A phone's location dot is useful for orientation but may be inaccurate, especially beneath trees.
Do not use a tax map, mapping app, old fence, or painted tree as a substitute for a boundary survey. Visible stakes or markers may be unrelated to the current parcel or may have been disturbed. If exact corners or usable space matter to your decision, ask about a current survey and professional boundary verification. Avoid crossing uncertain boundaries.
3. Look at slope, footing, and drainage clues
Walk only where you have permission and where conditions are safe. Observe changes in elevation, exposed rock, erosion channels, soft ground, and areas where leaves or sediment collect. Look for culverts and the direction water might move across the site. Photograph representative high and low points without claiming to identify a floodplain or wetland from appearance alone.
A dry visit does not establish year-round drainage. Recent rainfall, seasonal groundwater, and storms can change conditions dramatically. For a future building plan, ask qualified local professionals what grading, foundation, drainage, and site evaluations may be necessary. Check authoritative flood and environmental resources when relevant, but understand that a map or visual inspection may not settle parcel-specific questions.
4. Note vegetation and obstacles
Dense brush, mature trees, stumps, boulders, and steep embankments can affect how you move through a property and what work may be needed later. Note whether there are open areas, but do not assume an open clearing is an approved building site. Look for fallen trees, signs of dumping, and areas where vegetation limits visibility. Photograph examples and estimate the scope of cleanup only as a preliminary observation.
Clearing may require permission under local rules or property restrictions. A prospective buyer should confirm tree-removal limitations, easements, environmental constraints, and any owners-association requirements before planning major changes. Keep estimates for clearing and site preparation separate from the purchase price.
5. Identify utility clues without assuming service
Power poles, meters, overhead lines, water features, and nearby homes are useful things to note. They do not guarantee a legal, affordable, or technically feasible connection for this parcel. A line visible across the road might belong to a different provider or require extension work. A neighbor's well or septic system says little about what can be approved on the land you are viewing.
Record the names of visible utilities or nearby service providers when safely identifiable. After the visit, contact the actual utility companies about service territory, availability, connection requirements, distance, and written estimates. If you are considering a residence, investigate water supply and onsite wastewater separately with the appropriate agencies and qualified professionals. Do not treat a listing's “utilities nearby” statement as a quote or approval.
6. Observe surrounding uses and restrictions
Notice neighboring homes, agricultural operations, road traffic, noise, and other activities that could affect your intended use. Consider visiting at different times if surroundings matter to you. A quiet weekday morning may not represent weekends or seasonal conditions. Stay on authorized property and avoid photographing people or private areas unnecessarily.
Visible neighboring uses do not establish what you may do on your parcel. Ask for recorded covenants, association rules, zoning or land-use information where applicable, and other relevant restrictions. Confirm whether your specific plans—such as camping, an RV, a cabin, or short-term rental—are permitted. Do not infer permission because a neighbor appears to be doing something similar.
7. Document what you can actually verify
Use a simple field log with four columns: location or feature, what you observed, photograph number, and follow-up needed. Separate direct observations from statements made by sellers or neighbors. For example, “gravel road reaches apparent parcel entrance” is an observation; “legal year-round access is guaranteed” is a conclusion requiring evidence.
Take wide photographs to preserve context and close-ups to document specific features. Save a screenshot of the listing and the date of your visit. If cell service is unreliable, make offline notes rather than depending on a live map. Avoid placing permanent markers, digging test holes, or disturbing vegetation without authorization.
8. Turn your visit into a follow-up checklist
The most valuable part of a walkthrough often happens after you leave. Compare your photographs with the legal description, maps, and available documents. Make a list of unanswered questions and identify who can answer each one. Access and boundary questions may require recorded instruments or a surveyor; utility questions belong with providers; wastewater questions belong with the responsible agency and qualified site professionals.
Ask for documents rather than relying only on verbal assurances. Where future building is important, obtain estimates for necessary investigations and improvements, and discuss appropriate purchase contingencies with your real estate or legal professional. If the parcel does not fit your intended use or the cost of verification is too uncertain, it is reasonable to continue looking.
Questions to take on every property visit
Did I confirm permission to enter and a safe place to park?
What did the road and entrance look like today, and what legal access still needs verification?
Which parts of the listing matched what I saw, and which did not?
Where did I notice slope, rock, erosion, or low ground?
What vegetation or cleanup work might need professional estimates?
Which utilities were visible, and which providers must confirm availability?
What neighboring uses or restrictions could affect my plans?
Which photographs, records, and professional opinions are still needed?
What a property walkthrough cannot establish
An onsite visit is not a pass-or-fail test for buildability. It cannot establish precise boundaries, recorded legal access, title quality, soil suitability, septic approval, flood risk, utility connection costs, or compliance with restrictions. Even experienced buyers can miss hidden conditions. The purpose is to make your next verification steps more focused—not to turn visual impressions into guarantees.
A practical next step
Before visiting rural land, decide which features matter most to your plans and which limitations you could accept. Bring a written checklist, document what you see, and verify the important questions through the right sources. That process helps you compare properties on facts rather than first impressions.
Not sure which rural-land features to prioritize? Take the Hopson Land Investments Property Fit Quiz before your visit. It is an educational starting point, not a substitute for professional due diligence or agency approvals.